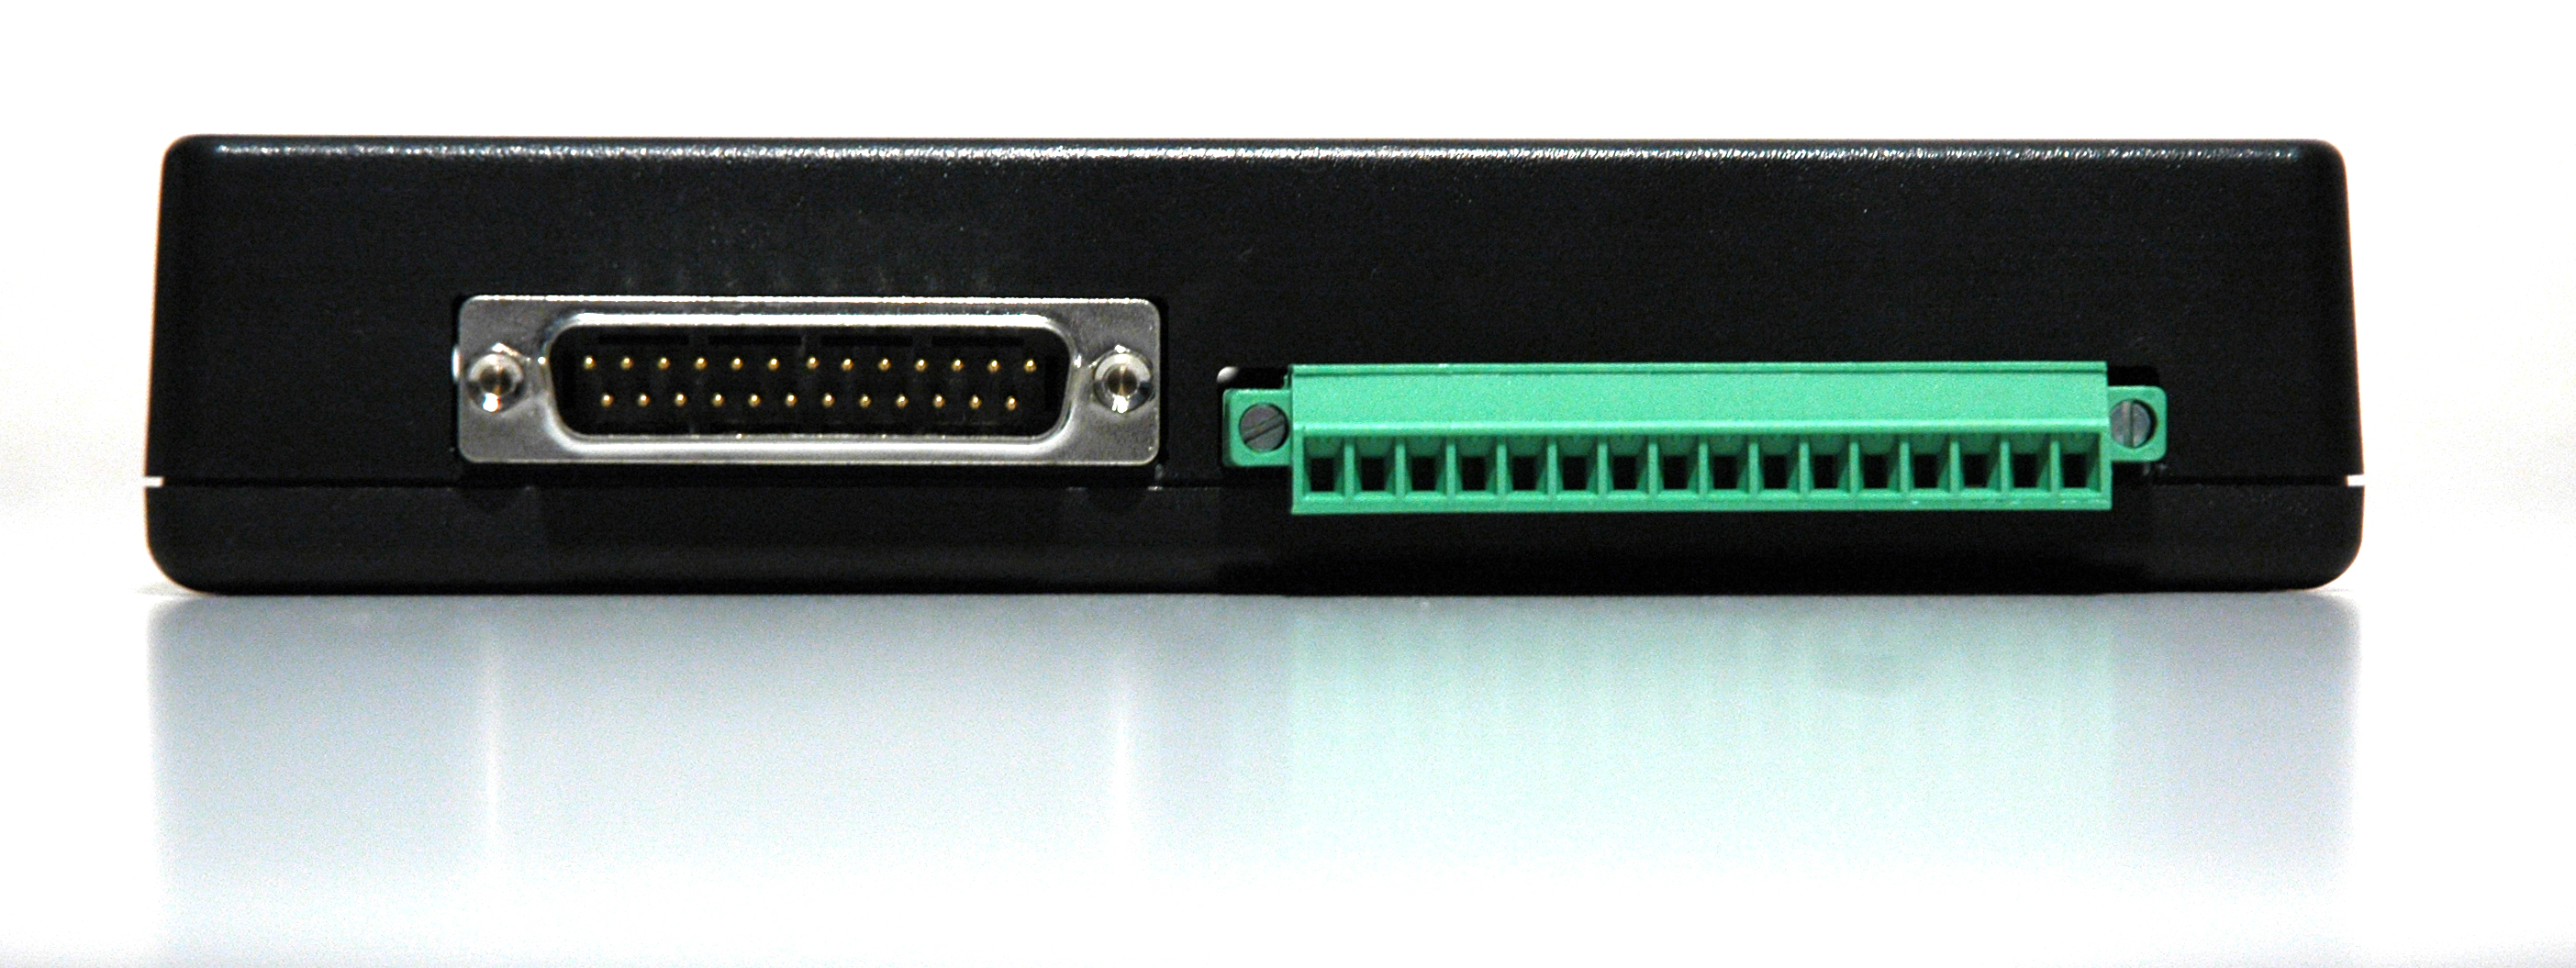
GPICommander is a device that you connect in USB to your computer and that has 8 outputs and 24 inputs.
GPICommander is two things: a USB to GPI Converter and a software. You can send or receive GPI triggers using AppleScript. It has 24 inputs (open-collector type, common ground) and 8 independent relay outputs but since each unit has a unique serial ID, you can chain more than once on the USB bus to have more inputs and/or outputs.
Connecting the GPICommander box
You will need to:
- Connect the GPICommander device to the computer where OnTheAir Video is running.
- Connect the GPICommander's inputs to your device (it can be a production switcher GPI/tally output or a simple push button box) using the DB25 connector. Check the User manual for instructions on how to connect it.
With OnTheAir Video you will mainly use the inputs. These 24 inputs are available through a DB25 connector, where basically and very briefly, an action will be triggered in OnTheAir Video when any of the first 24 pins is connected to the "ground" (on pin 25).

With the direct integration or AppleScripts?
To control OnTheAir Video with GPICommander, you have 2 options:
- with the direct integration: you just have to connect the GPICommander box to the computer and go to the preferences of OnTheAir Video to set it up. This is the easiest way. This works with OnTheAir Video and OnTheAir Video Express.
- with AppleScripts. This requires you to know how AppleScript work, as well as installing the software GPICommander but offers a lot of possibility. For example, you could control multiple applications with just one GPI trigger. This works only with OnTheAir Video as OnTheAir Video Express can not be controlled with AppleScripts.
Use the direct integration in OnTheAir Video (Express)
Open the the OnTheAir Video Settings, and select the GPICommander to be used in the top left drop down menu. You can connect multiple GPICommanders to one computer, but only use one in OnTheAir Video. They will be listed with their serial numbers.
Once you have selected the GPICommander to use, select the type of behavior that you want in the "Usage" drop down menu:
You can decide for 3 types of usage:
- As Remote Controller (more for generic uses)
- As Video Switcher (specifically when used with a production switcher)
- As multi-usage (More advanced type that adds playback controls, graphics, SCTE… Inputs)
GPICommander "As Remote Controller"
When you select to use GPICommander "As Remote Controller", you will be able to set 2 type of things:
- Input Actions: set the action to be performed when a given GPI input is triggered
- Tally Outputs: set the output to put on on depending on the status of OnTheAir Video
Input Actions
You will see there a list of different actions that can be performed. For example the "Play Selected Clip" action when triggered will start playing the selected clip in the "Front" playlist. You must then define which input should be monitored. For that clip on the popup menu next to the action:
Select for example "In 1". In that case, as soon as the input 1 of the selected GPICommander turns to on, the selected clip in the from playlist will start playing.
You can configure all actions like that. They are quite "self explanatory". The only things to note are:
- if no clip is selected, then the action will be done on the first clip in the playlist
- the "Space Bar" action will mimic the behaviour done when you use the "Space bar" on your computer. This can be quite useful for cue mode, etc...
Tally Outputs
There are 2 kind of status that can be monitored:
- Playing: when OnTheAir Video is playing a clip, the selected output will be put to on
- Paused/Cue: When OnTheAir Video is paused or cued, the selected output will be put to on
GPICommander "As Video Switcher"
When you select to use GPICommander "As Video Switcher", the behaviours will be different, and is mainly used when GPICommander is connected to a Production Video Switcher. It is not mandatory, and you can use the "As Remote Controller" mode when connected to a Production Video Switcher, but basically the behaviours here will be identical to the ones when using an "ATEM Switcher".
You will have 2 settings:
- OnTheAir Video Input
- Cue next clip when "OnTheAir Video Input" goes off
The behaviour will be as follows:
- as soon as OnTheAir Video sees that the monitored input goes to on (it is then in use on your production switcher), it will start playing the selected (or cued) clip in the front playlist
- then when the monitored input goes back to off (it is not in used anymore on the production switcher), and if the "Cue next clip when OnTheAir Video Input is deselected" option is enabled, we will automatically cue the next clip.
GPICommander "As Multi-Usage"
GPI Triggers become more clever with the Multi-Usage option. This allows the operator to trigger SCTE, graphics, playback controls, and even ApplesScripts all from a GPI Commander device. Parameters are easily adjusted and assigned, and change parameters based off the category.
Trigger AppleScripts when Inputs state change
As explained above, note that this will only work with OnTheAir Video and not with OnTheAir Video Express.
With GPICommander, you can trigger an AppleScript when the state of any of the 24 input changes. You can trigger an AppleScript when the state changes from closed to opened or from opened to closed. These AppleScripts can control any application on the Mac that is AppleScriptable (and OnTheAir Video is AppleScriptable).
For this you will need to download the GPICommander application from our website. This is the application that will trigger the AppleScripts.
Read more about how to trigger AppleScripts from GPICommander in the following article: https://softron.zendesk.com/knowledge/articles/115002594014/en-us?brand_id=1102326
Comments
0 comments
Please sign in to leave a comment.