If you need to record a skype conversation for remote interviews, you can do this very easily in MovieRecorder with some nice features. For example, if there are multiple persons on the call, you can record all to individual files, so you can edit this in your editing solution using its multicam feature. You can even do that while the recording is still taking place thanks to the edit-while-ingest feature of MovieRecorder.
This will be done by using the NDI® feature of Skype and MovieRecorder.
Setup Skype
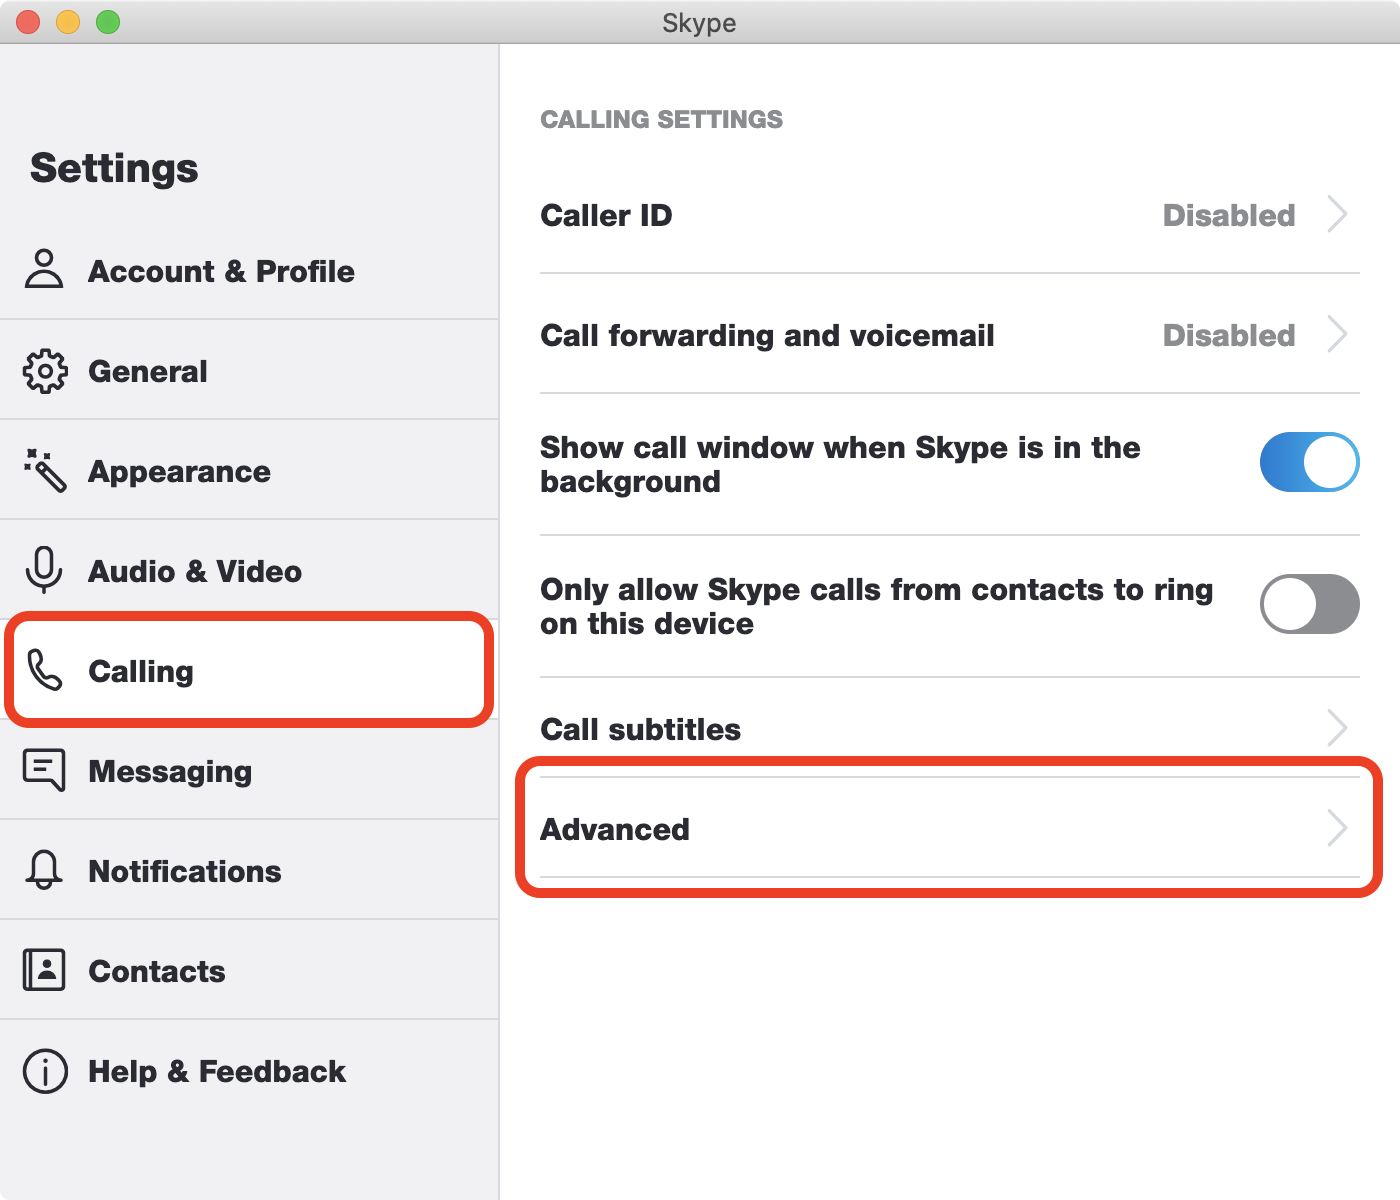
The first thing to do is to setup Skype. Go in preferences, "Calling" section, and select "Advanced":
In the advanced pane, enable the "Allow NDI® usage" option:
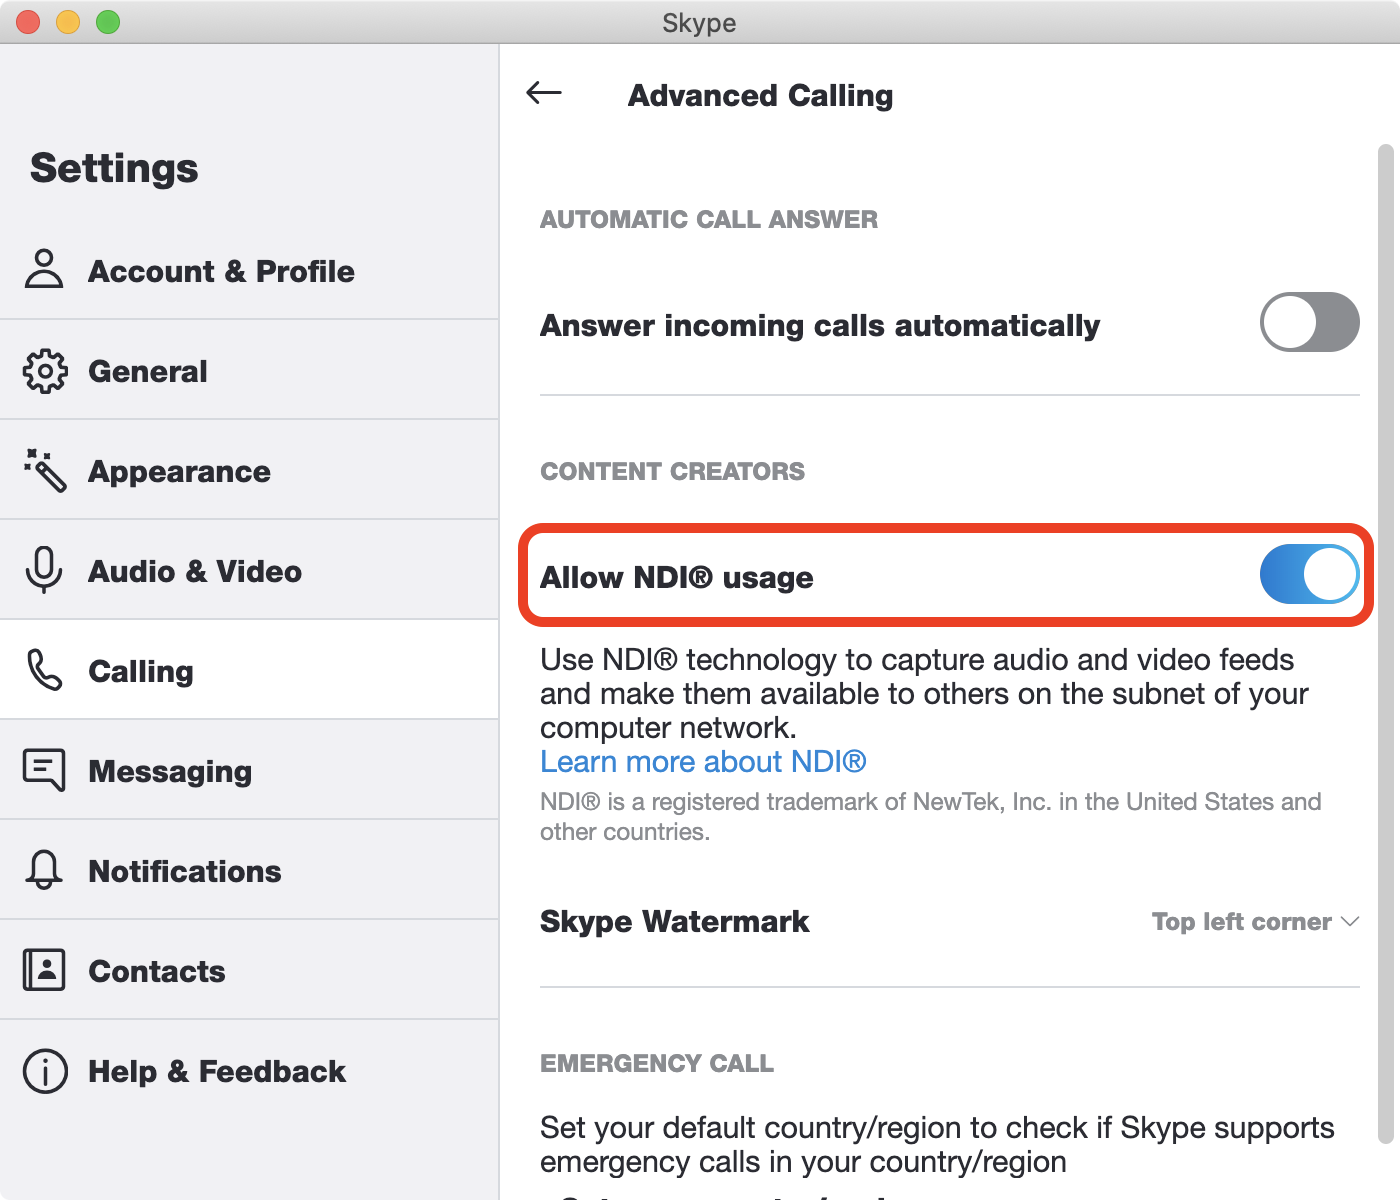
That's it for Skype.
Note that:
- you can setup Skype on the same computer as the one MovieRecorder runs, or a different one. NDI is a network protocol, so it doesn't need to be on the same computer, but you just need to have enough bandwidth on your network (specially if you record multiple sources)
- the Skype caller will see on his screen a warning saying that you are able to record the call. Which is nice for privacy settings.
Setup MovieRecorder or MovieRecorder Express
Both MovieRecorder and MovieRecorder Express support NDI® sources, so you will be able to use one or the other. For the screenshot below, we used MovieRecorder, so there may be some differences if you use MovieRecorder Express, but it will roughly be the same.
Initiate a Skype call
Skype will only start broadcasting NDI ®once a call is received, so before you go to the next step, make sure to receive the call.
Add the NDI® sources
Once the call has been started, in MovieRecorder, in the NDI® source section, click on the + icon to add new NDI® sources:
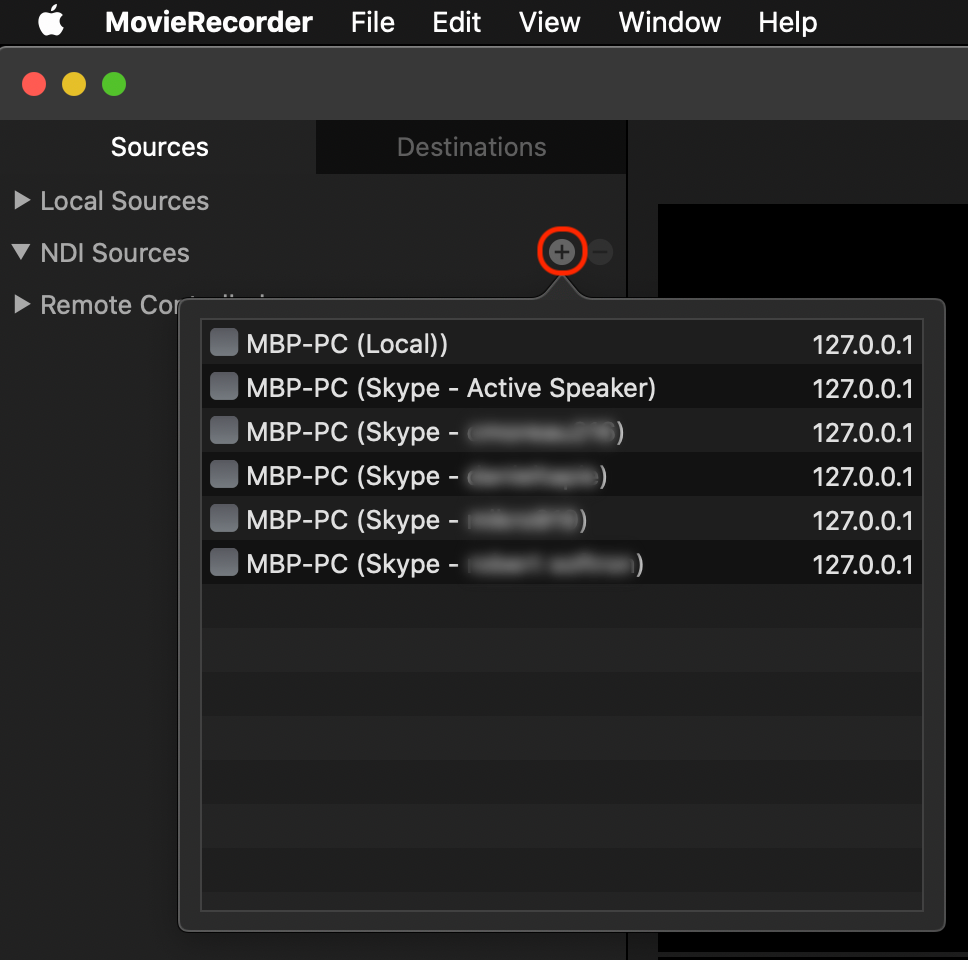
- Local = the camera of the Skype on the computer receiving the call
- Active Speaker = if you do a call with multiple persons, this is the "automatic switching" that Skype does depending on who talks.
- And then there should be one source per caller, with the Skype id
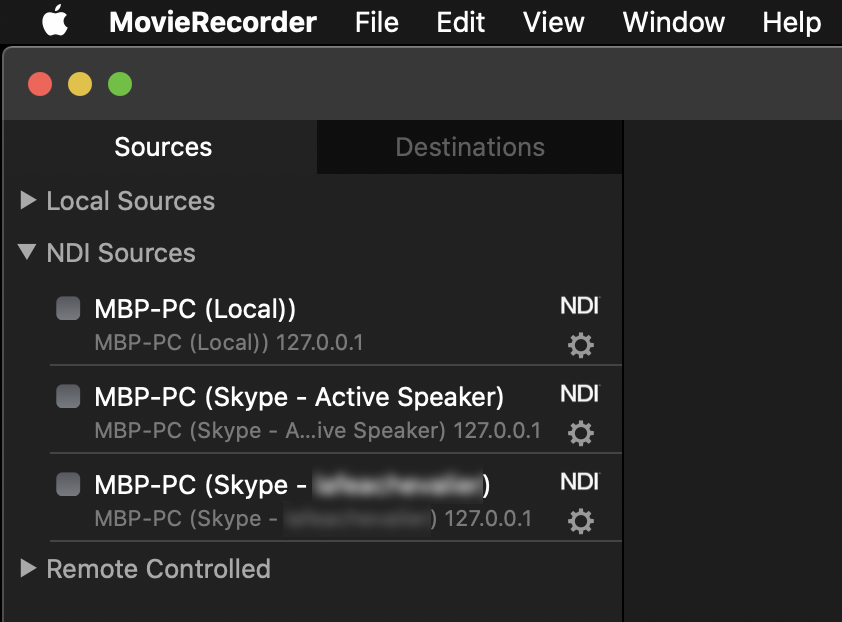
Enable the sources you want to record from
By default the name of the source is the NDI® source name. You can leave it like that or rename them to something a bit more readable. Just click on the name, and change the text to something like this:
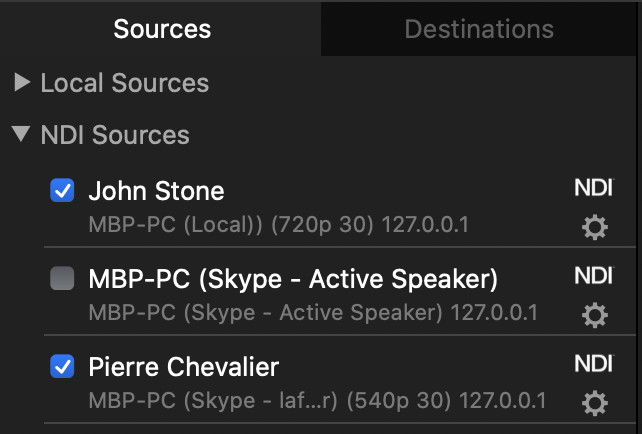
Note that the video format and fps is set by Skype and it can not be changed in the sources, but it can be resized in the destination (see below).
If you know how MovieRecorder works, you can skip the next steps, and just start recording...
Add the source to the viewers
To preview and control the source, just add it to one of the Viewers. You can either:
- Select all the sources in the list, and then drag and drop them to the Viewers (note that if the sources are not enabled, this will enable them)
- Click at the top left of a Viewer and select the source you want to view:
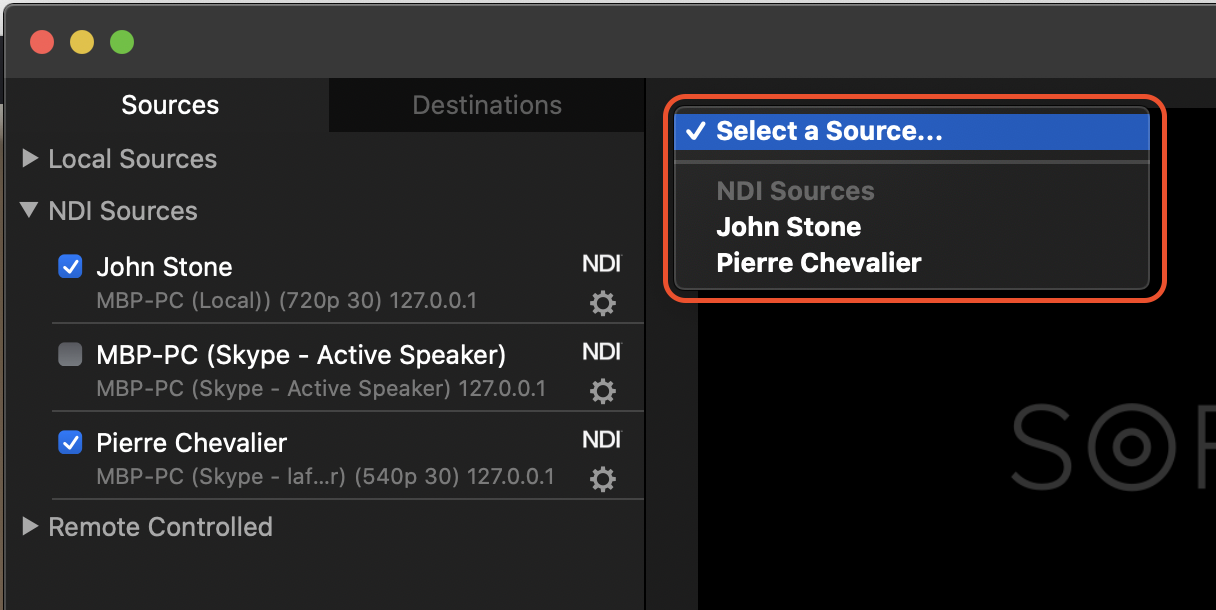
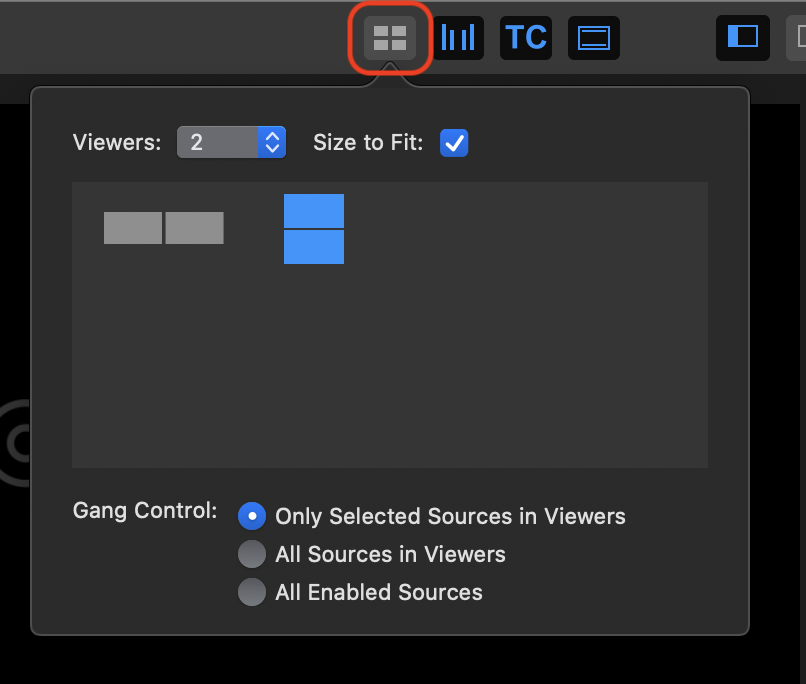
By default, MovieRecorder shows 4 Viewers. If you need to show less (or more), click here at the top left of the MovieRecorder window, and select the number of viewers you want to see and the layout:
Setup the destination
You may skip this step if you just want to record to ProRes (the default codec used), but there are a few nice things.
To configure destinations, click on the "Destinations" pane in the left of the window. You should see one destination that is created by default. Click on the small wheel to configure it:
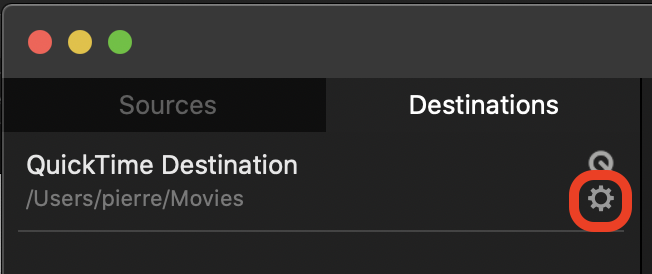
You can change the name of the destination, where it records to, the AVPreset (video and audio encoding settings), etc...
About codecs and AVPresets
If you want to record to H.264 or HEVC, make sure to select "Segmented" in the "Edit-while-ingest" section. For more info on these types of destinations, read the following article.
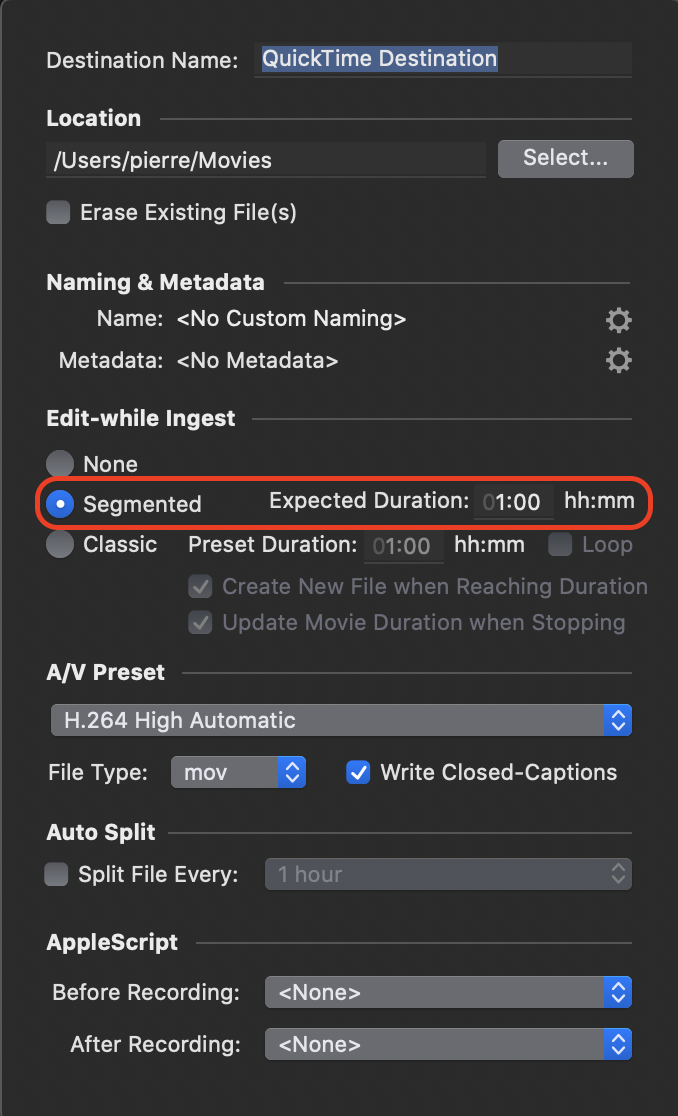
Note that as Skype already uses the H.264 and HEVC hardware acceleration for its operations, you may be limited in the number of channels that you can encode in H.264. You may want to keep ProRes LT if you want to record multiple channels.
Also, some codecs have strict requirements in terms of frame size (for example XDCAM only supports HD formats).
If you use MovieRecorder (this is not available for MovieRecorder Express), you can also resize, crop; overlay a logo, time, etc... For that, go to the MovieRecorder preferences > AVPresets.
About custom naming
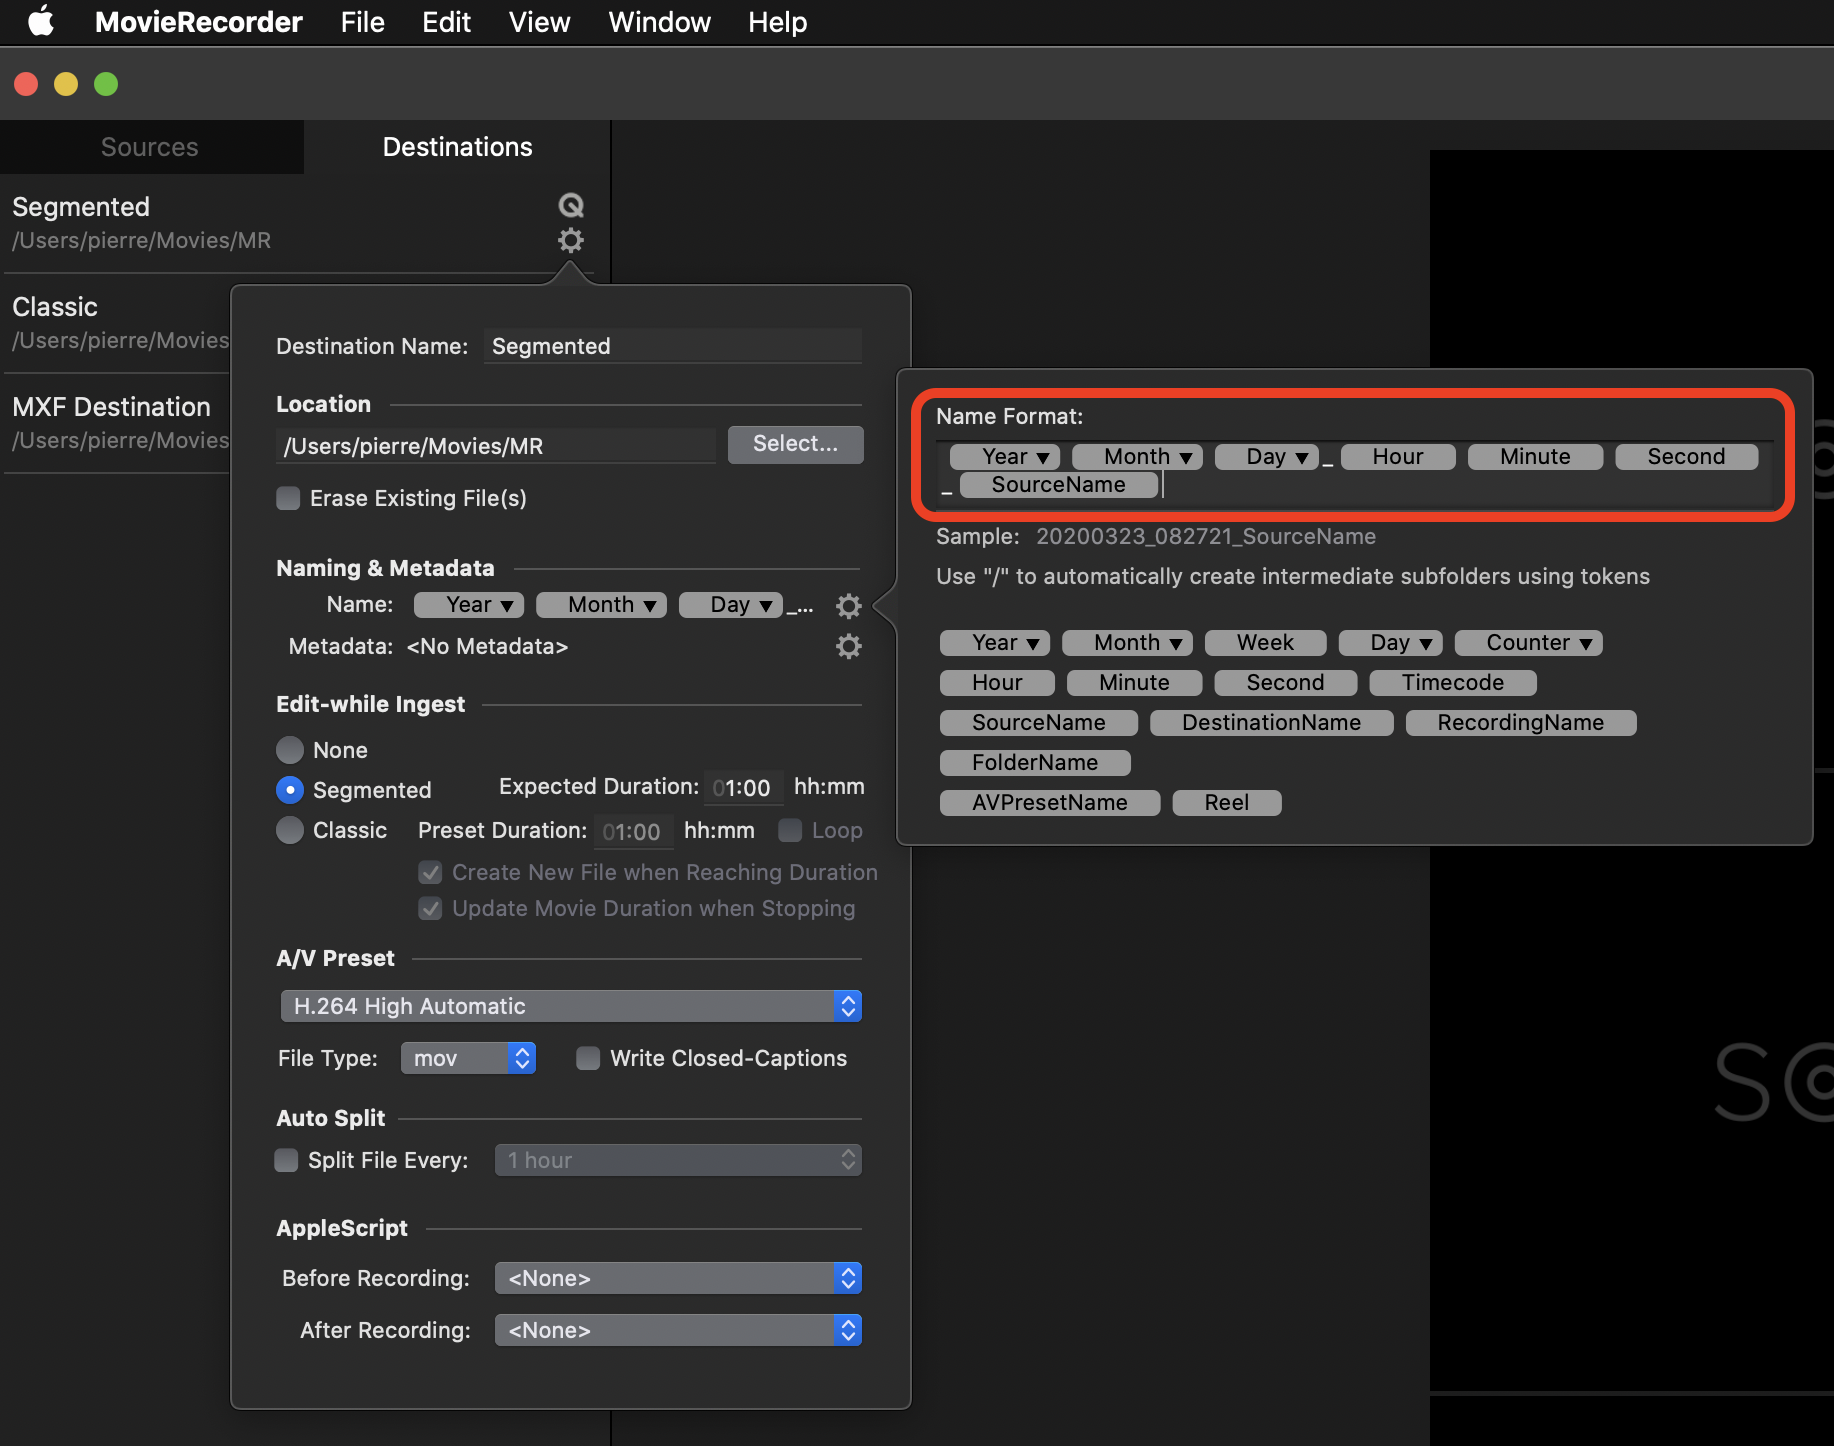
A nice feature is to set, in the destination settings, the custom naming so it includes the "Source Name". That way your recorded files will indicate who the signal was recorded from. I like this kind of naming that also includes date/time (you could also use / in the custom naming to automatically create subfolders, for example one folder per day).
Enable destination(s) on Viewers
Once your destinations settings are correct, you can enable them on each of the viewers. To do that, there are a few ways:
- Right-click on a destination in the list and select one of the options:
- Enable on All Sources
- Disable on All Sources
- Solo on All Sources (this will disable all other destinations and enable just this one)
- Drag-and-drop a destination from the list to one of the Viewers
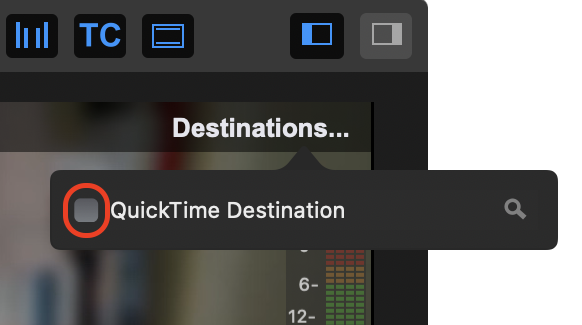
- Click at the top right of the Viewer and enable one of the destination.
Start recording
Once everything is setup, you can click on the record button on each of the viewers, or you can also use the gang record feature. For this, simply click on the Viewers you want to control so it is highlighted in blue, and click on the record button at the bottom of the window:

And click on stop to stop the recording...
An important note is to test before. The number of channels that you will actually be able to record and
There's more...
As you may know, MovieRecorder can be used for edit-while-ingest, so you can actually have an editor editing the multichannel recordings in your editing solution while the recording is still taking place. Making this the most efficient Skype multichannel live editor.
Copyright note: NDI® is a registered trademark of NewTek, Inc.
Comments
0 comments
Article is closed for comments.